Discover how you can use Google Photos’ built-in AI tools to organise, enhance, and rediscover digitised family videos and photographs. Learn step-by-step tips for seamless editing, smart tagging, and smarter storage.
How to Use AI in Google Photos to Enhance Digitised Videos and Photos
Digitising your old video tapes, albums, and photographs is just the beginning. To make the most of those cherished memories, it’s worth learning how to use AI in Google Photos to enhance digitised videos and photos. Google Photos offers built-in AI tools to improve image quality, organise your content automatically, and help you rediscover moments you might have forgotten. With Capture Australia and our partner shops, your digitised files are delivered via secure online link or USB, ready for you to upload to Google Photos via the app or website on your device. Once uploaded, you’ll have instant access to intelligent editing features, with no extra apps or tech skills required.
How Google’s AI Enhances Your Photos and Videos
Google Photos offers more than simple storage. It helps you get more out of every memory with built-in intelligence working quietly in the background to organise, enhance, and surface meaningful moments.
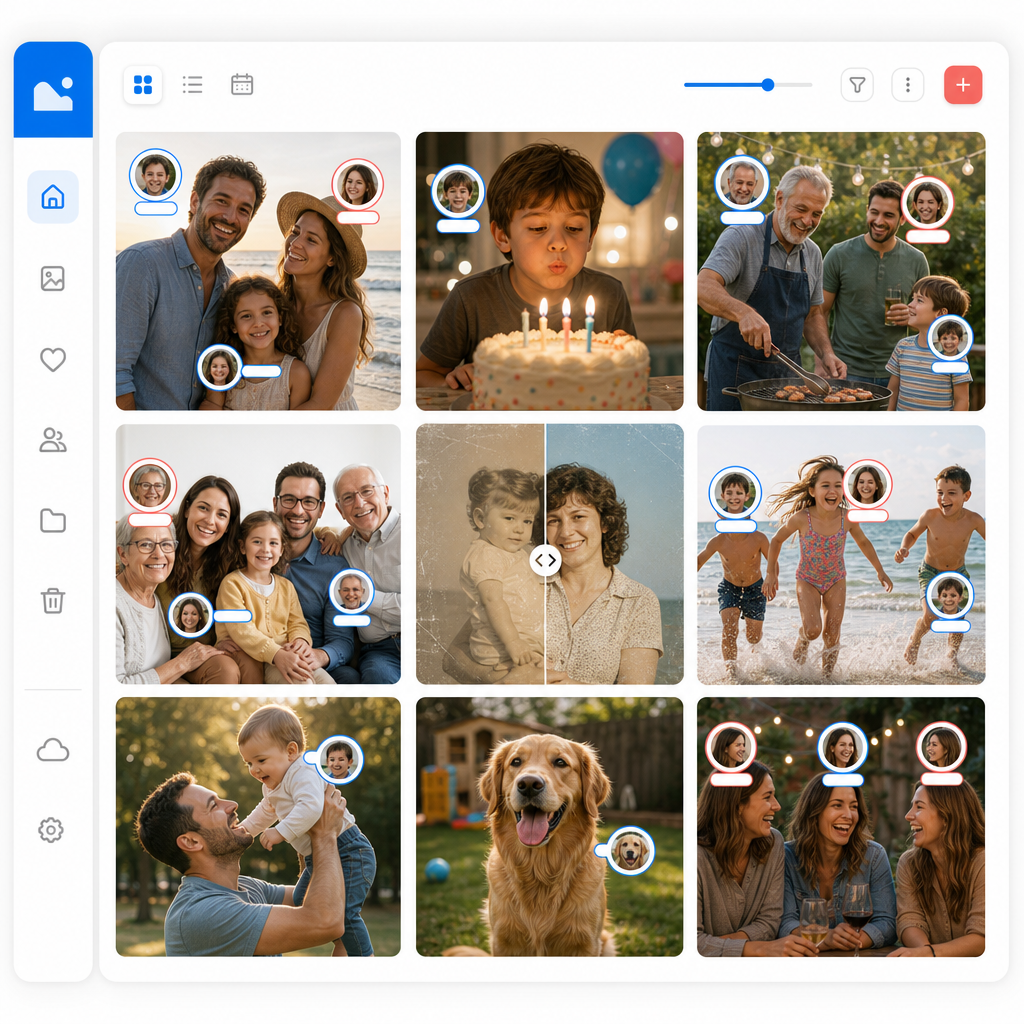
Facial Recognition and Smart Tagging
The AI automatically detects faces, objects, and even pets, grouping your photos by person or theme. For example, you can quickly create an album of your child growing up, instantly find every image with your nan, or make it easy to locate old family event snaps, even if your files have no labels or captions. Searching by face, keyword, or visual detail is incredibly easy, letting you track down specific memories from all over your library. Key idea; don't think about labelling files or folders and organisation too rigidly, as Google Photos does the heavy lifting for you now! By tagging people, you're really combining the old and the new, photos from yesteryear, to the photo taken 5 minutes ago! You definitely deserve to use this amazing technology!
Auto Enhancements and Filters
Old home albums featuring the weekend barbie, scanned prints, or old portraits converted to digital can look better than ever. With just one tap, Google Photos can boost lighting, reduce blur, and sharpen faded colours. AI-powered Google editing tools like the Magic Editor and Magic Eraser let you fix imperfections: blur distracting backgrounds, adjust lighting, or remove unwanted stuff, all within seconds. These features are available on select devices, and most are free to use.
Smart Albums and Rediscovery Tools
Google Photos automatically creates albums based on events, dates, and people. You might get a prompt to “Rediscover this day,” allowing you to revisit a holiday on the Gold Coast from 1995 or a long-forgotten family caravan trip. These smart albums and memory prompts work even for newly digitised analogue photos and videos, building a personalised, evolving archive. Want to go further? The built-in video editor lets you trim clips, adjust lighting, and add filters to rediscovered footage. Most AI features are just part of your Google account, at no extra cost.
Step-by-Step: Using Google Photos with Capture Files
Here’s how it works when you digitise with Capture Australia, whether you're near Sydney, Newcastle, Canberra or Brisbane:
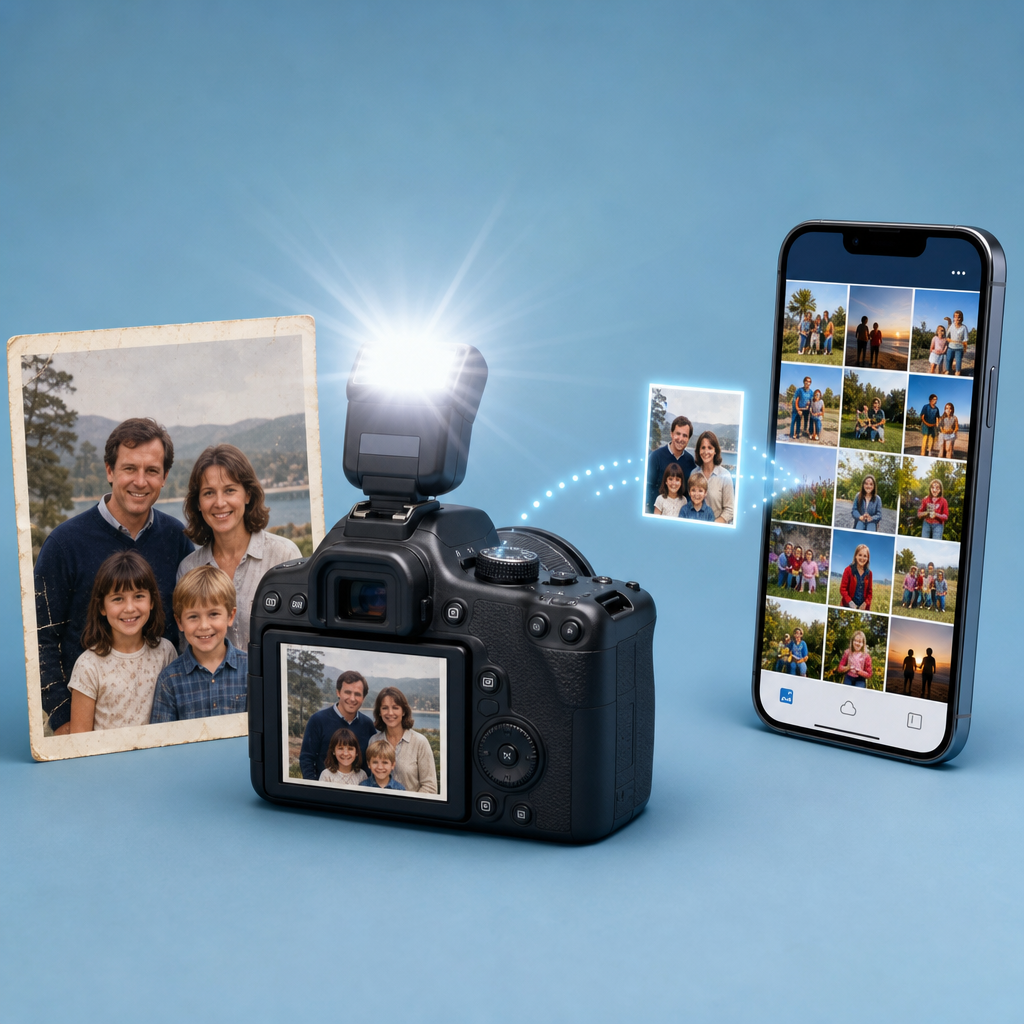
Drop your albums or loose photos with Capture: We are the modern scanning service, best photo scanning solution, as we'll enhance and improve your physical photos, from albums or loose photos of any size, turning them into scanned image files ready to use for your creative projects. Our technology faithfully use camera systems to capture the original photos, without any generative AI that would artificially edit the photo.
Simple Upload to Google Photos: Once you receive your files via secure link or USB, upload them to Google Photos via the app or website. It only takes a few minutes and works on any device, or browser.
Compatible File Formats: Make sure you get JPEGs, that Capture Australia does as standard, so you can use them on any device.
No Platform Lock-In: You own your files and can edit, back up, or copy them as you wish, and the app is on multiple platforms like iPhone iOS, Android, PC Windows and Mac.
Best of all, there’s no need to enable anything. Google Photos’ AI features spring into action as soon as files hit your library, organising faces, enhancing visuals, and surfacing memories immediately.
Fixing Common Problems in Old and Digitised Photos, Step by Step
Uploading your digitised albums to Google Photos gives you a set of practical repair tools, not just storage space. Here is exactly how to use the ones that make the biggest difference to a scanned photo or an old video frame.
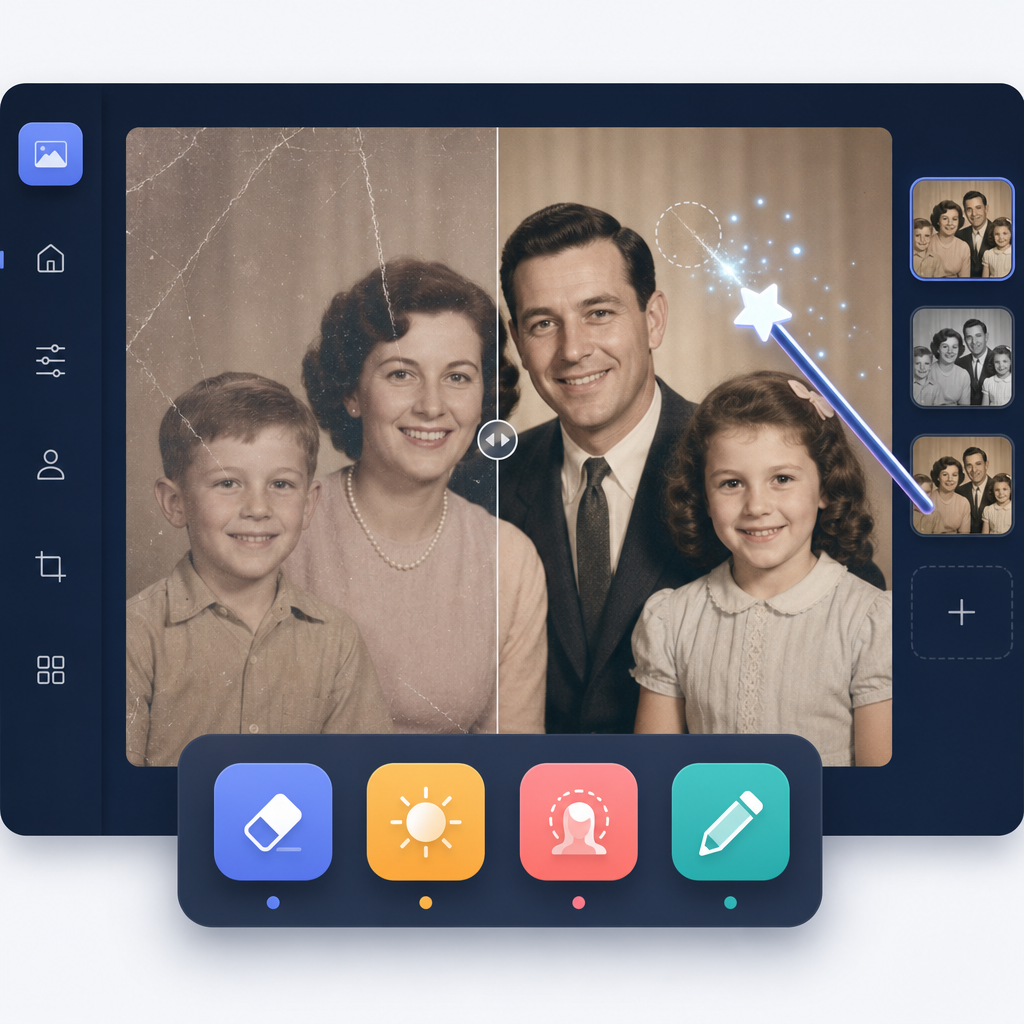
Remove a scratch, dust mark or scan artefact with Magic Eraser
Photos digitised from prints sometimes pick up small marks from the scanning process, or the original print already had a scratch, crease or spot of dust on it. Magic Eraser is built for exactly this.
Open the photo in Google Photos and tap Edit.
Select Tools, then choose Magic Eraser.
Tap directly on the mark, scratch or object you want gone. Google Photos usually detects small blemishes for you and shows a suggestion.
Tap the suggested area to accept it, or draw over the spot yourself if it isn't picked up automatically.
Tap Save copy so you keep the original file untouched.
This works well on small marks. A scratch running across a large area of the photo, or heavy damage on the original, is harder for the tool to fix cleanly, so treat it as a quick touch-up rather than a full restoration.
Fix a soft or blurry photo with the unblur suggestion
Old prints copied from a shaky original, or a still frame pulled from a home video, often come out slightly soft. Google Photos can sharpen these in one tap.
Open the photo and tap Edit.
Check the Suggestions row at the top of the editing screen. If the photo is a candidate, an unblur or sharpen suggestion appears automatically.
Tap the suggestion to apply it, then use the slider to control how strong the effect is.
Tap Save copy.
The tool can't recover detail that was never captured in the original scan, so it works best on photos that are only mildly soft rather than badly out of focus.
Brighten a faded or yellowed old print with one-tap suggestions
Rather than one generic "fix it" button, Google Photos looks at each photo and offers specific fixes suited to it.
Open the photo, tap Edit, then check the Suggestions row.
For a faded print you'll typically see options such as brighten, boost colour, or fix a washed-out sky.
Tap each suggestion to preview it on the photo before committing.
Tap Save copy once you're happy with the result.
Because these are individual suggestions rather than one blanket filter, you can pick just the fix the photo needs, for example correcting yellowing without also over-brightening a photo that was already well exposed.
Add light to a dark or unevenly lit face with Portrait Light
Family photos taken indoors with older cameras or flash often leave one side of a face in shadow. Portrait Light adds a light source after the fact.
Open a photo with a visible face, tap Edit, then Tools.
Select Portrait light.
Drag the on-screen dot to change where the light appears to come from.
Use the brightness slider next to it to control how strong the light is.
Tap Save copy.
This feature needs a face Google Photos can clearly detect, so it works best on portraits and close group shots rather than a wide scene where faces are small.
Ask for a plain-language edit with Magic Editor
Instead of hunting through menus for the right tool, you can describe the fix you want in your own words.
Open the photo, tap Edit, then Magic Editor.
Type a plain description of what you want changed, for example "brighten this and remove the crease down the middle" or "make the sky less grey".
Review the result Google Photos generates and adjust your wording if it isn't quite right.
Tap Save copy once you're satisfied.
Because Magic Editor can redraw parts of the image, keep the original scan from Capture Australia so you always have an unedited version to fall back on.
Search and edit by asking, with Ask Photos
Ask Photos is a newer, experimental feature that lets you talk to your library instead of scrolling through it. Type a question such as "find photos from my parents' wedding" or ask it to make a simple edit, and it responds without you needing to know any tool names. Availability varies by account and region, so if you don't see it yet, the tools above cover the same ground.
Keep sensitive photos private with Locked Folder
Not every digitised photo needs to sit in your main library where anyone using your phone might see it. Locked Folder moves specific photos behind an extra layer of security, without deleting them.
Open Google Photos and go to Library, then Utilities.
Select Locked Folder.
From any photo, tap the three-dot menu and choose Move to Locked Folder.
Open it again later with your phone's PIN, fingerprint or face check whenever you want to view it.
This is a straightforward way to keep private family photos, such as sensitive medical or personal records you've digitised, out of shared albums and casual browsing.
Why Capture + Google Photos is a Better Choice
Not all digitisation services offer the same freedom. Some use proprietary software that keeps your files locked inside their app. You can’t edit easily, use outside tools, or move your content freely.
Capture takes a different approach. You get open, high-quality files that work anywhere, including with Google Photos. Whether you digitise albums of old footy games, scan family holiday snaps from Byron Bay, or preserve classic bushwalk photos, you can edit with powerful built-in tools, organise your library however you like, and always have the original files.
It’s a straightforward, flexible, and intelligent way to get the most out of your memories.
No Lock-In. No Fuss. Just Smarter Memories.
With Capture, you have complete control and instant access to Google Photos’ best AI tools. Start digitising today.
Quick FAQs Answered
How do I enable AI in Google Photos?
You don’t have to do a thing. AI features like facial recognition, smart albums, and auto enhancements are part of Google Photos and work automatically.
How does Google’s AI photo search work?
Just type in a name, location (like Bondi Beach), object, or even a colour. Google’s AI scans your full library and instantly displays matching results.
How do I use Magic Editor in Google Photos?
Open a photo, tap ‘Edit,’ and select ‘Magic Editor’ to adjust lighting, blur backgrounds, or remove unwanted objects.
Can I edit videos in Google Photos?
Absolutely. Trim, crop, add filters, or adjust lighting using the built-in video edit features.
Do I need to pay for Google’s AI features?
Most tools are free. Some advanced features might require a Google Pixel device or the latest Android or App update.
Make the Most of Your Memories
Don’t let classic family videos, digital photographs, and treasured albums just sit in folders. Experience them again and easily share them with rellies across Australia and globally. With Capture and Google Photos, those memories are enhanced, organised, and always ready to be revisited.
Artificial intelligence makes reconnecting with your past simpler than ever. Whether you’re searching for footage of that beach cricket match or editing snaps from Christmas lunch, today’s tools make it accessible and fast. And with Capture, you’re always in control of how you view, edit, and share your story.
Preserving memories is just the start. Celebrate your story in a whole new way. To see how Capture fits inside Google Photos as a validated partner, read our full guide on Capture in the Google Photos app. Find a trusted partner shop in our Capture network today, and all you do is drop off your photos, and we'll do the rest.
Prefer Google Drive for storage? Learn how to access your revived photos with Google Drive.